How Much Storage Do I Need For Mac Os Mojave Update
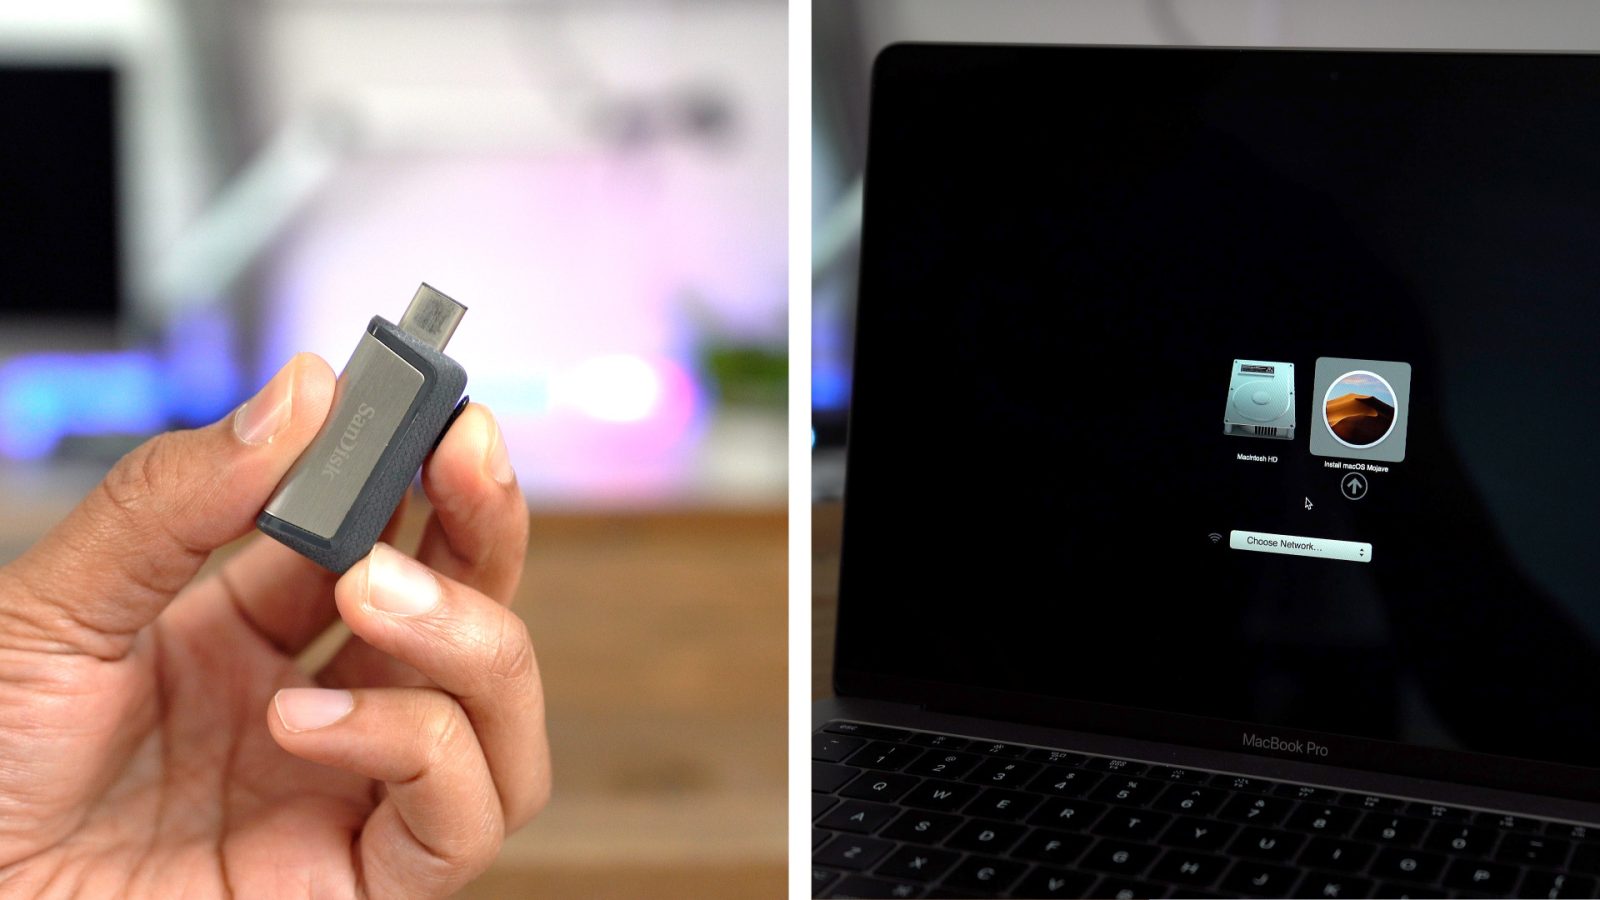
The only difference you might find is the new Mac OS Catalina requirements not covering Mac Pros ranging from 2010 to 2012. So unless you have that specific Mac Pro model you should be able to try the new operating system. However, in case your Mac is on the older side, barely managing to load the macOS won’t result in a pleasant experience. Dec 13, 2018 Upgrading to macOS Mojave should be smooth, but we want to be on the safe side – thus, we suggest that you back up your Mac. You can use the Time Machine to do backups on your Mac. Check out this detailed article on how to back up your Mac to help protect your data. Free Up Space on Your Mac. You need to have at least 2GB of memory and 18.5GB of storage space to be able to install.
Announced in June 2019 at WWDC, the long-awaited macOS Catalina will be the 16th major release for Apple's operating system. There are tons of new features to be shipped, covering everything from iPad compatibility (Catalyst makes it easy to port iPad apps to Mac) to security (Gatekeeper will require Apple-notarized Developer ID for apps) to entertainment (new apps for Podcasts, TV, and Music), besides the usual improvements to all the native software.
While macOS Catalina is scheduled to be released sometime around September, the public beta is already available, so everyone can try all the new functionality without the wait. Read through our step-by-step guide to learn how to install macOS Catalina public beta.
Is My Mac Compatible With macOS Catalina?
Regardless of whether you want to install the beta or wait for the official public release, one question will inevitably pop up in your head — is my Mac compatible with macOS Catalina? Good question! Let’s look at the Mac OS Catalina compatibility chart to find out.
List of macOS Catalina supported Macs
Overall, due to the numerous efficiency improvements under the hood, macOS Catalina supported Macs are nearly identical to those of macOS Mojave:
- MacBook (2015 or later)
- MacBook Air (2012 or later)
- MacBook Pro (2012 or later)
- iMac (2012 or later)
- iMac Pro (2017 or later)
- Mac Pro (2013 or later)
- Mac mini (2012 or later)
The only difference you might find is the new Mac OS Catalina requirements not covering Mac Pros ranging from 2010 to 2012. So unless you have that specific Mac Pro model you should be able to try the new operating system.
However, in case your Mac is on the older side, barely managing to load the macOS won’t result in a pleasant experience. For example, Apple specifies that running 4K as well as Dolby Atmos content will only be possible with Macs introduced in 2018 or later that boast 4K screens.
But don’t hurry to the Apple Store just yet. If watching videos in 4K is not an absolute necessity, you could simply optimize the Mac you have for faster performance and run macOS Catalina without a problem.
What are macOS Catalina storage requirements?
To run properly, macOS Catalina needs a considerable amount of disk space. It’s generally recommended to keep at least 15% of your main drive free. But remember, you’ll also need space for future macOS updates and all the new software that goes with Catalina. So you should think of freeing up storage way beforehand, while you’re still on Mojave or other older OS.
The general space goals to aim for here:
- 15–20 GB of free storage.
- 4 GB of RAM.
Upgrade smoothly: remove outdated system files
The best way to rise above the basic Mac OS Catalina requirements is to do a thorough scan of your Mac and purge all the useless data that you’ve accumulated over the years. Quite a hefty task if you choose to do it manually: your Mac has a ton of system files and invisible folders that require the use of Terminal to get to. Luckily, there's a software designed to take care of it all automatically.
CleanMyMac X is the easiest and the most thorough way to bring your Mac back to its pristine original state. In fact, the app is so helpful and intuitive that it was recognized as the “#1 Product of the Month” by Product Hunt.
Here are the kind of files you should try to get rid of:
- User and system cache files.
- System and user log files.
- Language files.
- Broken login items.
To do so with CleanMyMac X, simply:
- Download the free version of the app.
- In the sidebar, navigate to System Junk and hit Scan.
- Review Details and then Clean anything you don’t need.
Even though I’ve been using CleanMyMac X on a regular basis, the System Junk scan has revealed over 11 GB of files I no longer need. Imagine how much dead weight your Mac can carry!
Maximize your storage space
Once you clean your Mac from all the system and user-generated junk, you’ll notice improvements in responsiveness and speed right away. But it’s not only outdated files that slow your Mac down.
To hit all macOS Catalina system requirements, you need to have as much of your hard drive free as possible. This might include, for example, legitimate but long-forgotten documents you haven’t opened in years.
The good news is you can see what’s taking up your hard drive capacity with a new feature in CleanMyMac X called Space Lens, which creates an interactive visual map of all your files and folders:
- Open up CleanMyMac X (or download for free here).
- Go to Space Lens under the Files tab.
- Hit Scan and wait for the process to finish.
- Explore all the interactive bubbles and remove the folders you no longer need.
With no extra system files or unused heavy folders dragging you down, your older Mac will become brand new again, agile enough to take on the new macOS Catalina as it becomes available this fall. Best of all, just one app — CleanMyMac X — can do it all for you.
These might also interest you:
Usually, when we update any device, it gets slow whether it is an iPhone or iPad or Mac Mojave 10.14.4. So if we want to speed up like before, we need to take a few actions, and within minutes Mac will work smoothly without any hiccup. Generally when RAM and CPU performance are affected by some anti-social element, and it results in various unexpected issues. One of them is macOS is lagging in its production, or we can say it is slowed down.
All you need to speed up macOS Mojave performance is to follow some of the steps mentioned below and speed up your Mac.
Dr.betotte 2.1.3 free download for mac windows 10. we are happy to help you, submit this Form, if your solution is not covered in this article.
Simple Performance Tricks to Speed Up macOS Mojave
Fix 1: Remove or Move unused files and Folder from the desktop.
We are habituated to put every files and folder on the desktop to access quickly. Delete unnecessary files and move the data which you need.
Step 1: Press and hold Control and tap on the files that you want to group together.
Step 2: Now, right click on the selected files and select New Folder with Selection.
Alternatively, you can use the all-new feature which is known by the name Stacks in macOS Mojave. Stacks are used to Group by and Sort the files on your desktop to remove cluttering.
Step 1: On the menu bar click on “View.”
Step 2: There you will find “Use Stacks Behringer x32 usb driver for mac. ,” mark on it.
Get Here: How to use Stacks on Desktop macOS Mojave
Fix 2: Optimize Storage on your macOS 10.14.4
Optimizing storage of Mac will speed up your macOS Mojave. The big files such as email attachments and iTunes films are removed if they are old. The email attachments removed from the Mac but it will remain safe in the primary server, so whenever you need them you can download from there.

Step 1: Tap on “Apple” icon and Open “About This Mac.”
Step 2: Now, tap on “Storage” and then on “Manage.”
Step 3: Click on “Optimize” and after reading the dialogue box tap “Optimize.”
You can re-download the videos or movies from the iTunes again.
If you want to download Mail attachments, then go with the following step,
Step 1: Go to “Mail.”
Step 2: Tap “Preferences” and then click on “Accounts.”
Step 3: Select “Account name” and tap “Account Information.”
Step 4: Click “Download Attachments” and select all.
Fix 3: Remove Background apps
macOS Mojave is running slow the possible reason behind this is more applications are running on background. Remember whenever you use Mac remove available background applications to boost up the processor. Here’s how to check memory usage by each application.
Step 1: Tap “Finder” and then open “Applications.”
Step 2: There, click “Utilities” and open “Activity Monitor.”
Step 3: Now tap on “Memory” panel.
From there you can check how much memory is used by each memory, so from now you make sure they are closed while not in use.
Here’sMultiple Ways to Force Quit An App on Mac
Fix 4: Turn off Motion effects
Of course additional motion effects gives a luxurious look to your Mac, but in the same way, they consume much memory and occupy processor’s memory all the time.
Step 1: In the “Settings,” open “Accessibility.”
Step 2: On the left side click on “Display.”
Step 3: Enable “Reduce motion” and “Reduce transparency.”
Now you will experience simple Mac without any effects or motion.
Fix 5: Clean Mac Hard Drive
Suppose your Mac consist or 500GB hard drive and only 5GB is left then naturally it will slow down the processes. I would suggest you free up some space and see if Mac boosts ups or not. If this doesn’t work for you, then take back up and clean the entire hard drive.
Fix 6: Reset SMC
SMC can fix the extreme level of problems and speed up the Mac. Issues like battery draining, macOS Mojave gets slow, and some other hardware issues can be adjusted by resetting SMC.
How to Reset SMC in MacBook:
Step 1: Shut down MacBook.
Step 2: Plug charger in MacBook.
Step 3: Now, press and hold the “Power” button along with the “shift+control+option” button.
Step 4: Mac will reboot normally.
How to Reset SMC on Mac:
Here I will show you video as well as Steps to Reset SMC on your Apple Mac.
Step 1: Turn off your Mac.
Step 2: Unplug the cable from the power.
Step 3: Wait at least for 10minutes and restart as usual.
Fix 7: Reset NVRAM/PRAM
Resetting PRAM/NVRAM is generally preferred when your Mac starts to behave strangely. We can try this action there is no harm is doing this. It might be possible our macOS Mojave gets speed up.
Step 1: Turn off the Mac.
Step 2: Press “Power button” and “Command+Option+P+R” before the gray screen appears.
Step 3: Keep pressing the keys until Mac reboots.
Step 4: Release all the buttons and restart Mac again.
Fix 8: Speed Up macOS Mojave Start-up
In case your Mac is taking too long on startup, then the reason behind this is many different applications are launching with Mac. However, only it is wasting our time instead we can turn off the applications we don’t need to launch during startup. Complete Guide to Remove Mac Startup program.
Step 1: Click on “Apple” icon and go to “System Preferences.”
Step 2: Tap “User & Groups.”
Step 3: Click “Login” items.
Step 4: Check the Applications that you don’t want to launch while starting up.
Premium Support is Free Now
We are happy to help you! Follow the next Step if Your Solution is not in this article, Submit this form without Sign Up, We will revert back to you via Personal Mail. In Form, Please Use the Description field to Mention our reference Webpage URL which you visited and Describe your problem in detail if possible. We covered your iPhone 11 Pro, iPhone 11 Pro Max, iPhone 11, iPhone 8(Plus), iPhone 7(Plus), iPhone 6S(Plus), iPhone 6(Plus), iPhone SE, iPhone 5S, iPhone 5, iPad All Generation, iPad Pro All Models, MacOS Catalina or Earlier MacOS for iMac, Mac Mini, MacBook Pro, WatchOS 6 & Earlier on Apple Watch 5/4/3/2/1, Apple TV. You can also mention iOS/iPadOS/MacOS. To be Continued..
Step 5: Now, click (-) on the bottom of the screen to remove selected apps.
Fix 9: Upgrade HDD to SSD
Nowadays, you will find SSD in every high-performance laptop or computer. If you have newly purchased the Mac, then it might be possible that it is already in there. If not then you must buy SSD with the capacity you need.
SSDs are much faster than HDD, and significantly it will boost up the macOS Mojave. While purchasing SSD confirm that it is Mac compatible otherwise it won’t work on Mac.
Jaysukh Patel is the founder of howtoisolve. Also self Professional Developer, Techno lover mainly for iPhone, iPad, iPod Touch and iOS, Jaysukh is one of responsible person in his family.
Contact On: [email protected] [OR] [email protected]